

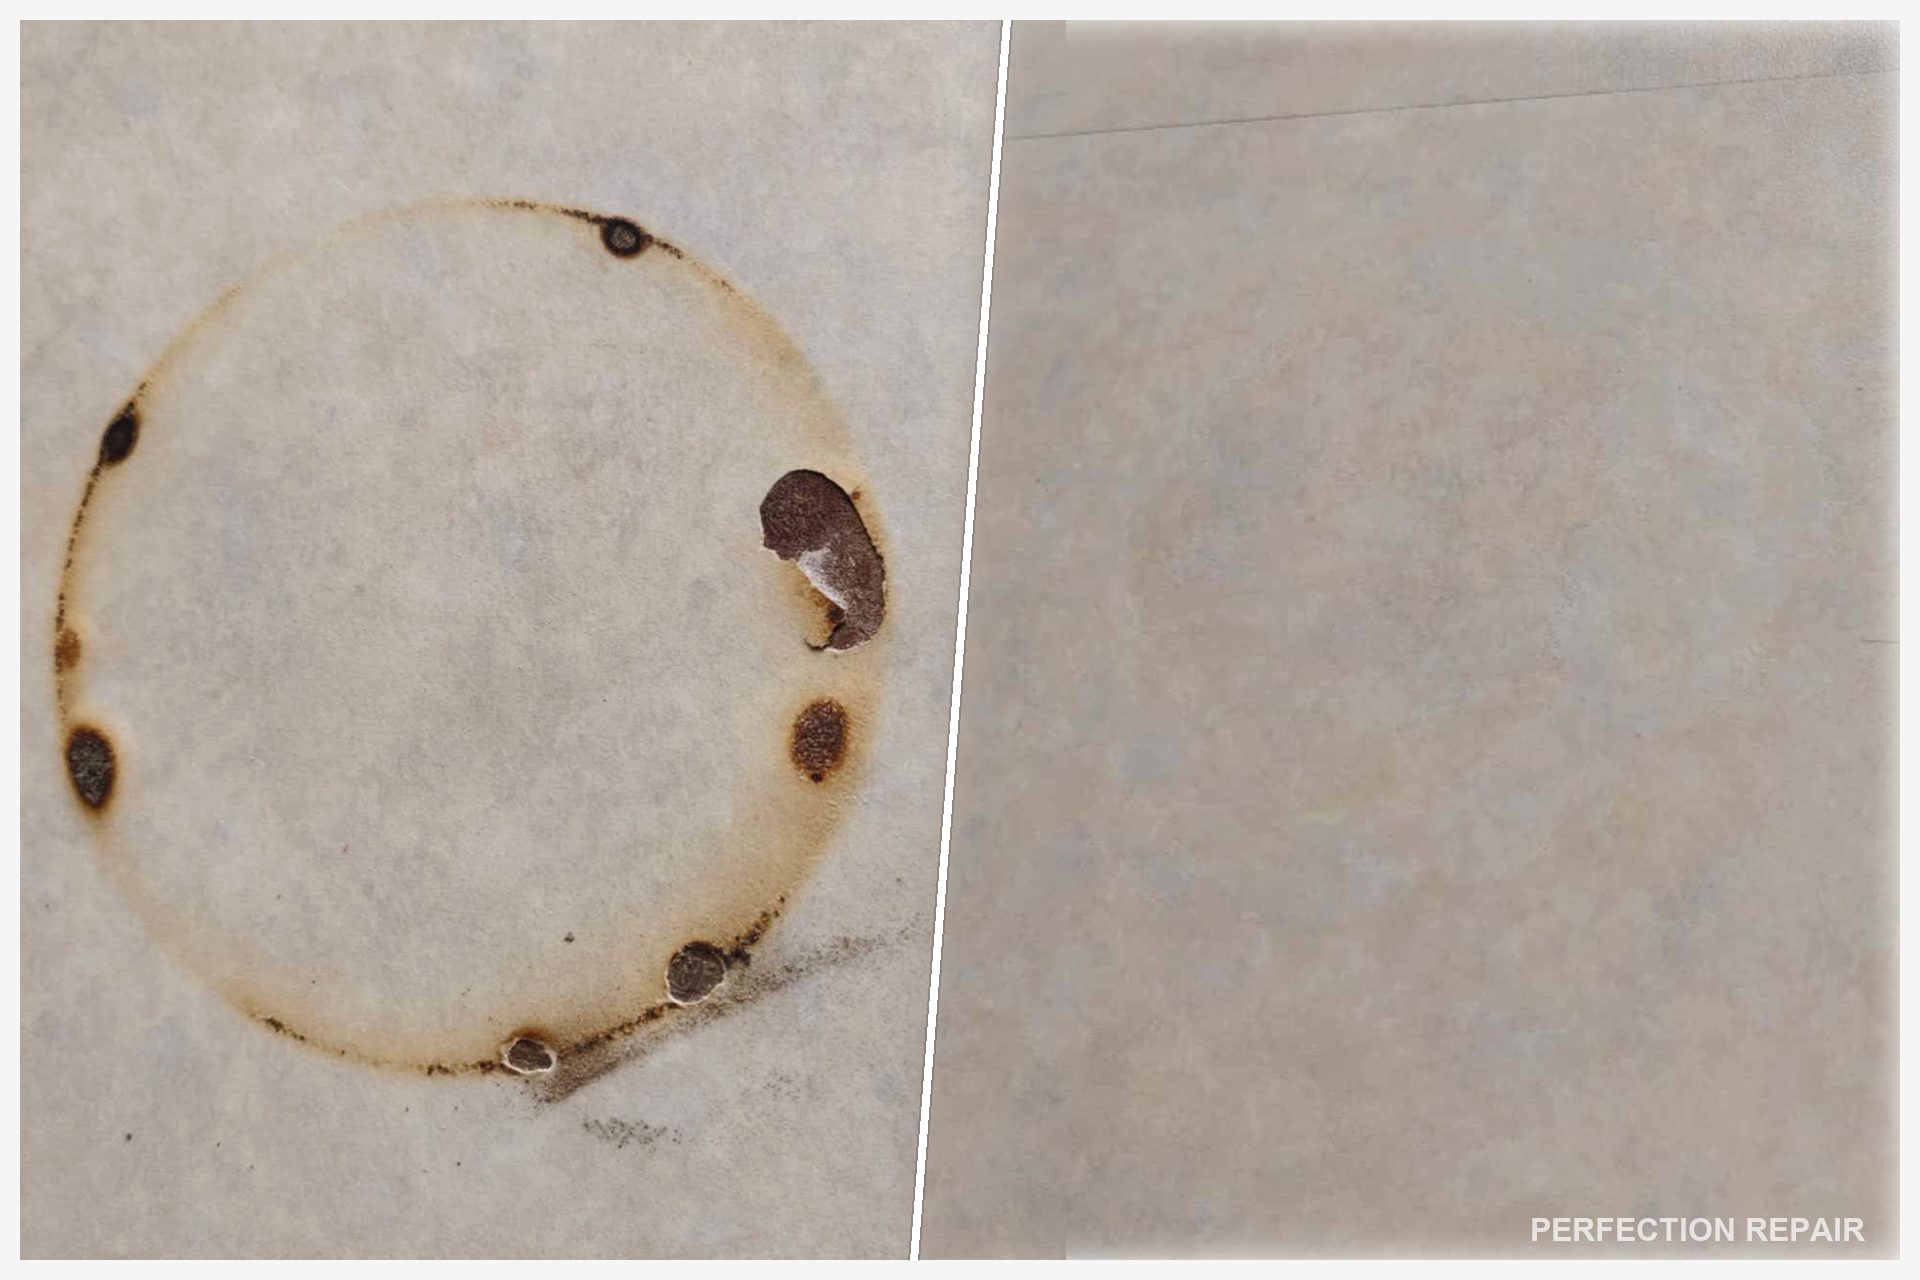
When a Hot Pan Meets Laminate
It happens in seconds. A pan comes off the stove, there’s nowhere obvious to put it down, and it lands on the benchtop instead of a trivet. By the time anyone thinks to move it, the damage is already done.
In this Dee Why kitchen, that’s exactly what happened. The pan sat on the laminate long enough to leave a clear ring where its rim had rested, and at several points around that ring — where the feet of the pan had pressed directly against the surface — the heat had gone further, blistering and charring the decorative layer into small, dark pits. From across the room it read as a faint circular shadow. Up close, it was six separate points of real damage sitting inside that ring, each one a slightly different depth and severity.
This is the pattern we see often with benchtop heat damage repair in Sydney kitchens: the visible mark and the actual damage are rarely the same size. A scorch ring can look like a single cosmetic blemish, but underneath there are usually a handful of points where the laminate has genuinely failed — cracked, lifted, or burned through to the substrate — and those points need to be treated individually, not smoothed over as one patch.
The client’s first assumption was that this meant a full section replacement. Laminate benchtops don’t take kindly to sanding or blending the way a solid stone surface does, and a burn ring crossing multiple contact points looked, at a glance, like more than a spot repair could fix. That’s a reasonable assumption from the outside — it’s also, in the large majority of heat damage cases we see, not the conclusion we land on once we’ve actually assessed the surface.
Undoing Heat Damage Without Replacing the Board
Laminate burn repair is a different discipline to laminate chip repair, even though both fall under the same general category of benchtop restoration. A chip is a single, localised loss of material. Heat damage is a cluster of related but distinct failure points, each carrying its own depth of scorching, and each one needs to be assessed on its own terms before any pigment work starts.
We began by testing every point around the ring individually. Some marks were surface-level discolouration that hadn’t broken through the decorative layer at all. Others — the darker, blistered pits — had burned down far enough that the charred material needed to be fully removed before anything could be rebuilt on top of it. Repairing over compromised material, even material that looks stable, is the single most common reason heat repairs fail within months: the char keeps degrading underneath a fresh finish, and the mark reappears.
With the charred laminate cleared back to sound material at each of the six points, we rebuilt the surface and hand-blended pigment to match the surrounding stone-effect pattern. This is where heat damage repair gets genuinely difficult to get right. A pot ring doesn’t scorch evenly — the tone shifts slightly from point to point depending on how long and how directly each spot was in contact with the heat — so matching it isn’t a matter of mixing one colour and filling six holes with it. Each point needed its own read against the surrounding surface, adjusted for the benchtop’s aged tone rather than its original factory colour.
The last stage was the finish coat. Since this section of benchtop had already proven it sits in the direct path of hot cookware, we used a protective top coat with better heat tolerance than the original factory finish, rather than simply replacing like-for-like. It was matched to the existing sheen level so the repaired area wouldn’t catch the eye as a slightly glossier or flatter patch under the kitchen’s overhead lighting — and we checked that under both artificial light and daylight from the window before finishing up.
The Result
The client had been expecting a drawn-out job — possibly a full board replacement, possibly weeks of waiting on a matching laminate sheet. Instead, all six scorch points were treated and the repair was completed in a single visit, under four hours from assessment to final coat.
Standing at the benchtop afterwards, the ring that had been the first thing you noticed walking into the kitchen simply wasn’t there anymore. No replacement board, no colour mismatch, no ongoing weak point where heat had already compromised the surface once.
Heat damage is one of the more common calls we get for laminate benchtop repair in Sydney, and it’s also one of the most frequently over-estimated in terms of how bad the fix needs to be. If the substrate underneath is still sound — which it was here — a targeted, point-by-point repair is almost always the more practical route, and it avoids the cost and disruption of chasing down a discontinued laminate pattern for a full section swap.
If you’ve got heat marks, scorching, or a chip anywhere on a laminate benchtop, the first step is always the same: an on-site assessment to see what’s actually happening beneath the surface before anyone talks about replacement. You can see more of how we approach this kind of work, along with other benchtop repairs we’ve completed, on our benchtop restoration services page.
Workflow
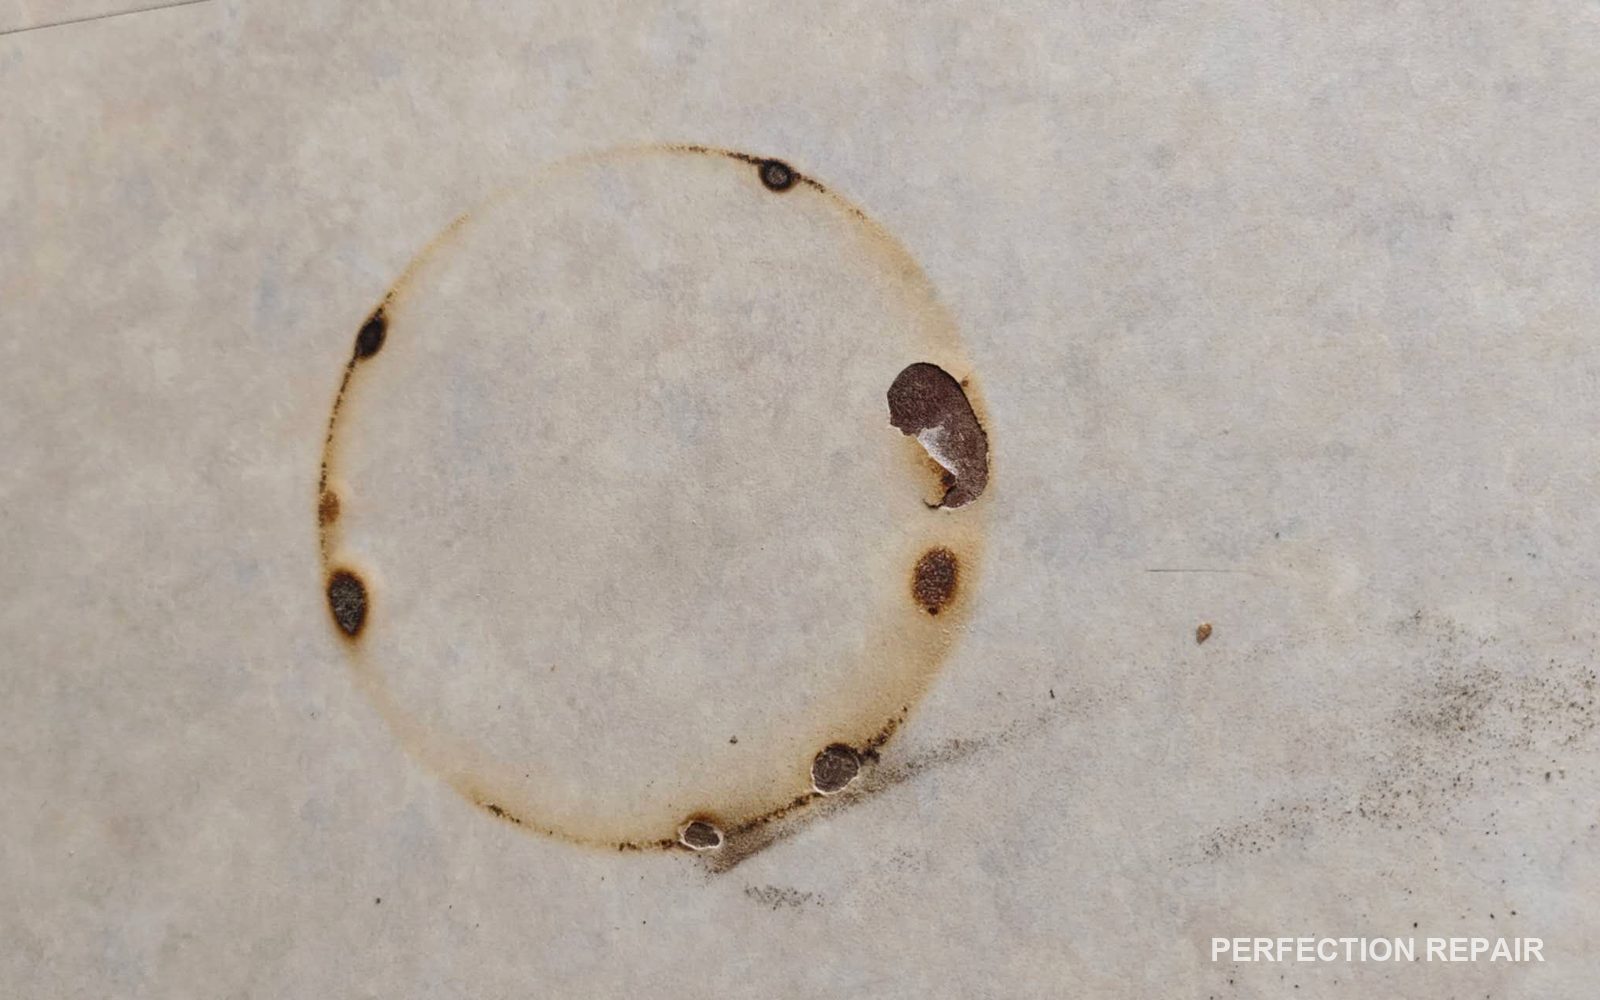
Heat Damage Assessment
A pan lifted straight off the stove had been set down on the laminate, leaving a scorched ring where the rim and feet made contact, along with several deeper charred pits where direct heat had blistered the decorative layer. Before any repair work began, we tested each affected point to establish how far the heat had travelled beneath the surface — laminate can look superficially marked while the substrate underneath is undamaged, or the reverse can be true, so this step decides the whole repair strategy.
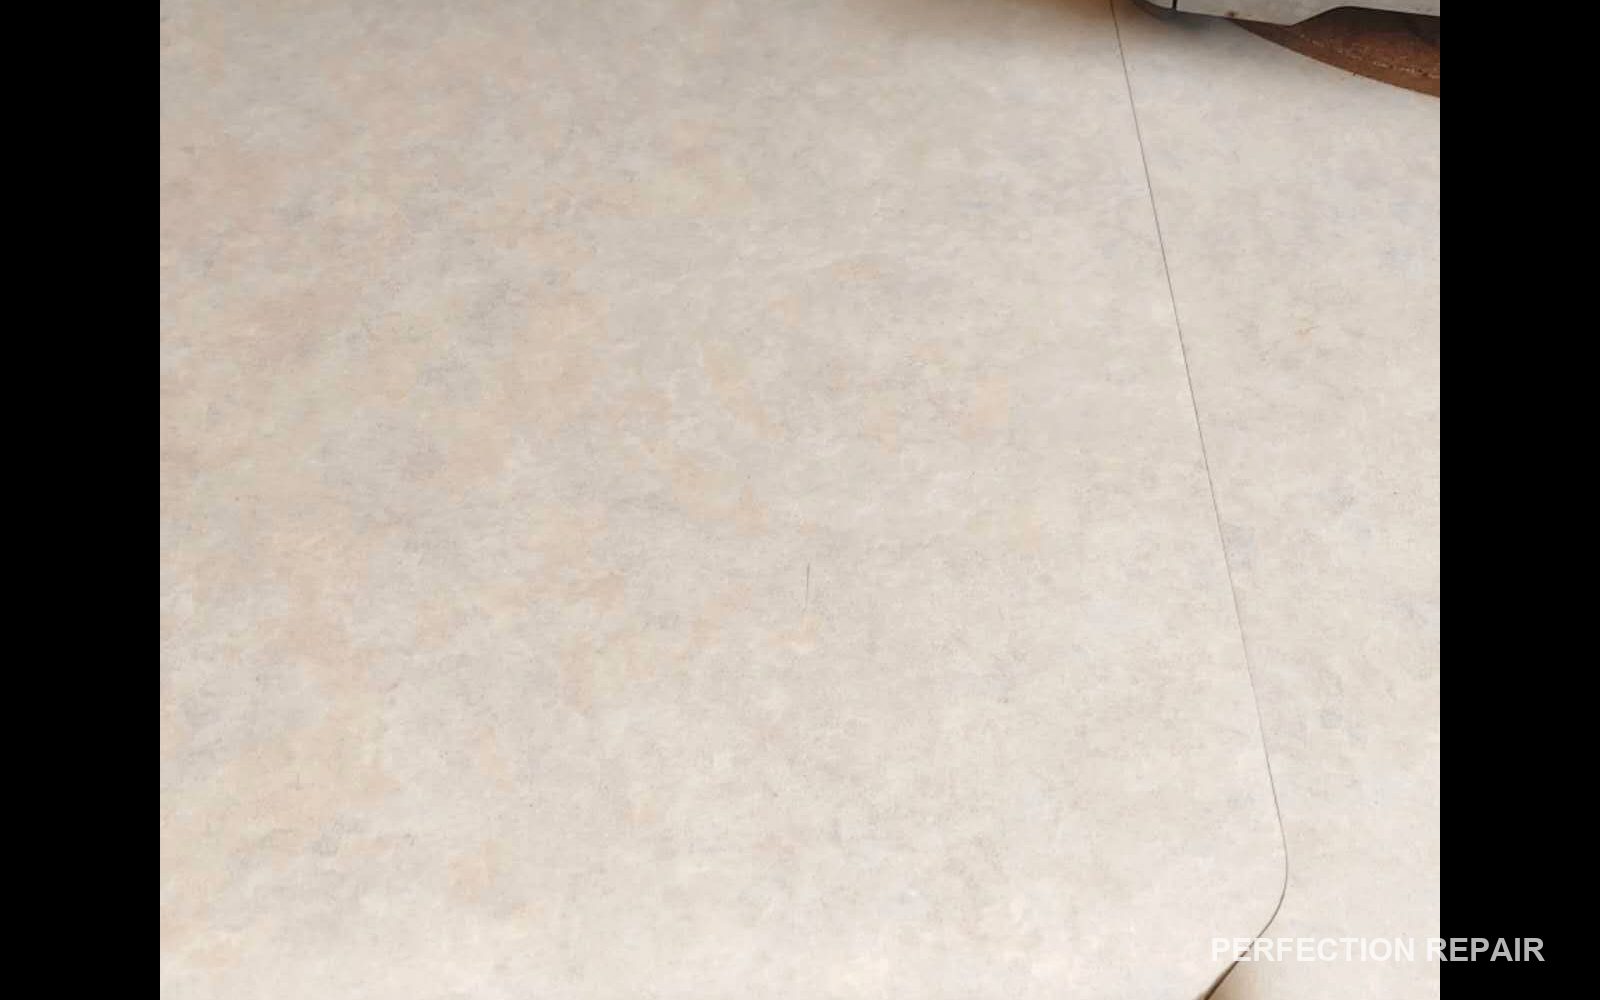
Charred Material Removal and Pigment Rebuild
Each burn point had to be treated individually rather than as one uniform patch. The charred laminate was carefully removed back to sound material at every pit, then rebuilt and pigmented to match the surrounding stone-effect pattern. Heat damage on laminate rarely stains evenly, so getting a convincing result meant blending slightly different tones across the six points rather than applying one flat colour across the whole ring.
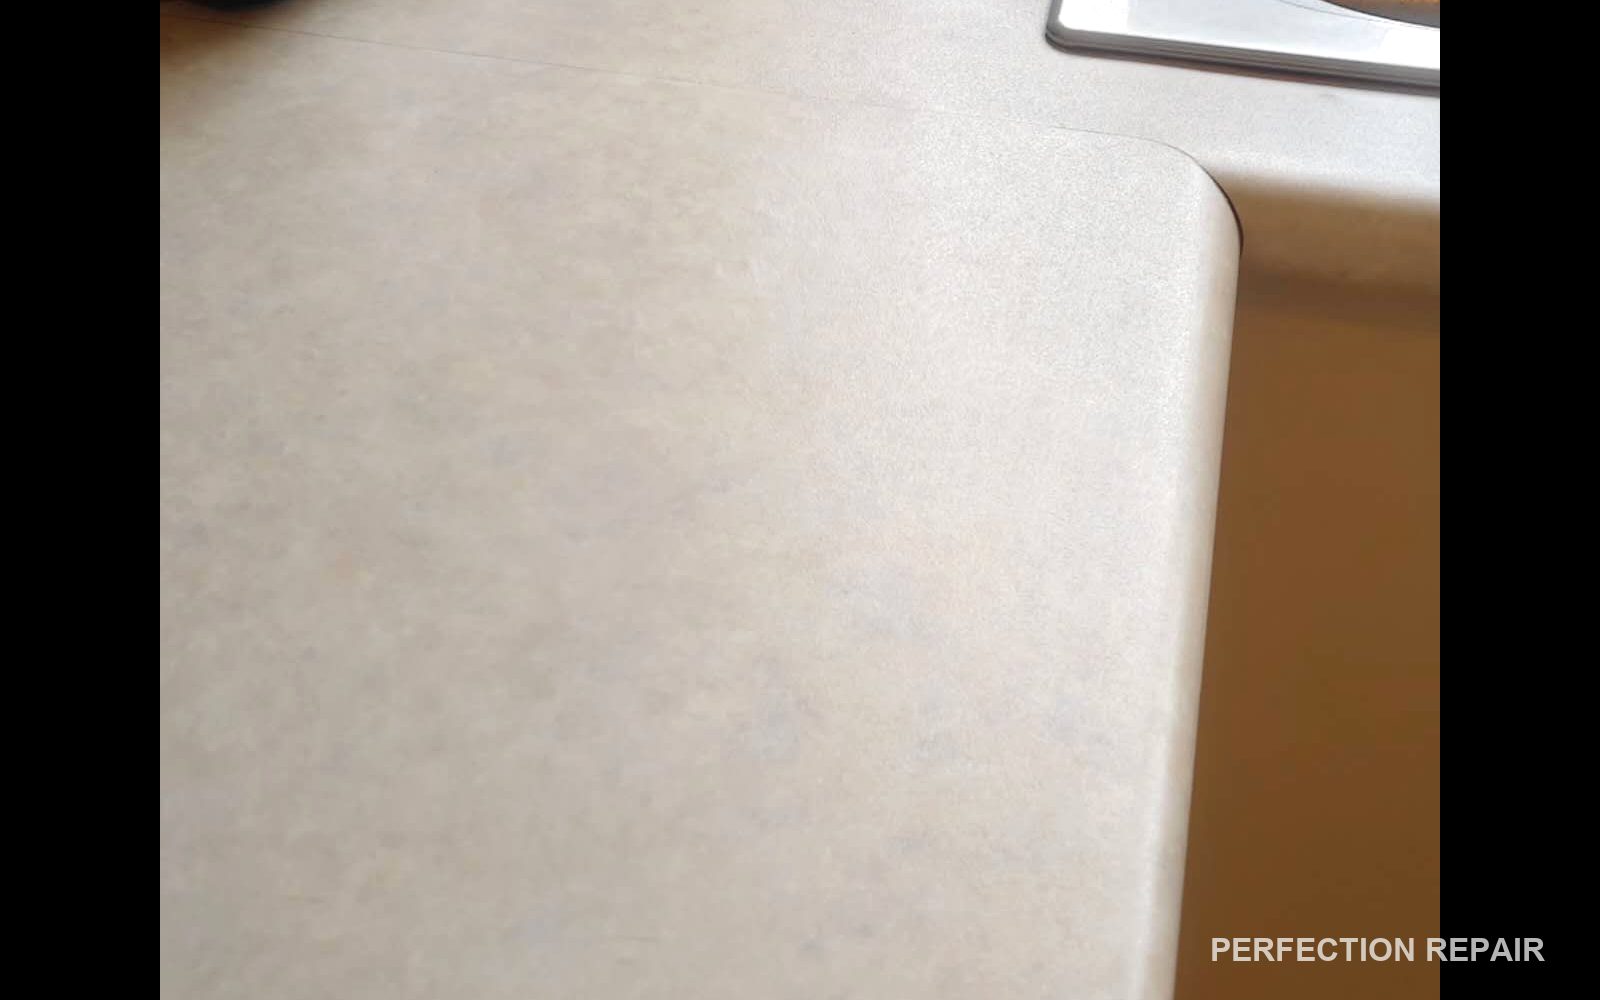
Heat-Resistant Protective Finish
The final stage was a protective top coat formulated to hold up better against future heat contact than the original factory finish, brought in line with the existing sheen so the repaired area doesn't stand out under kitchen lighting. We checked the result against the surrounding benchtop from several angles and under both the overhead light and the natural light from the window before calling the job complete.