
The Worst Spot for a Chip
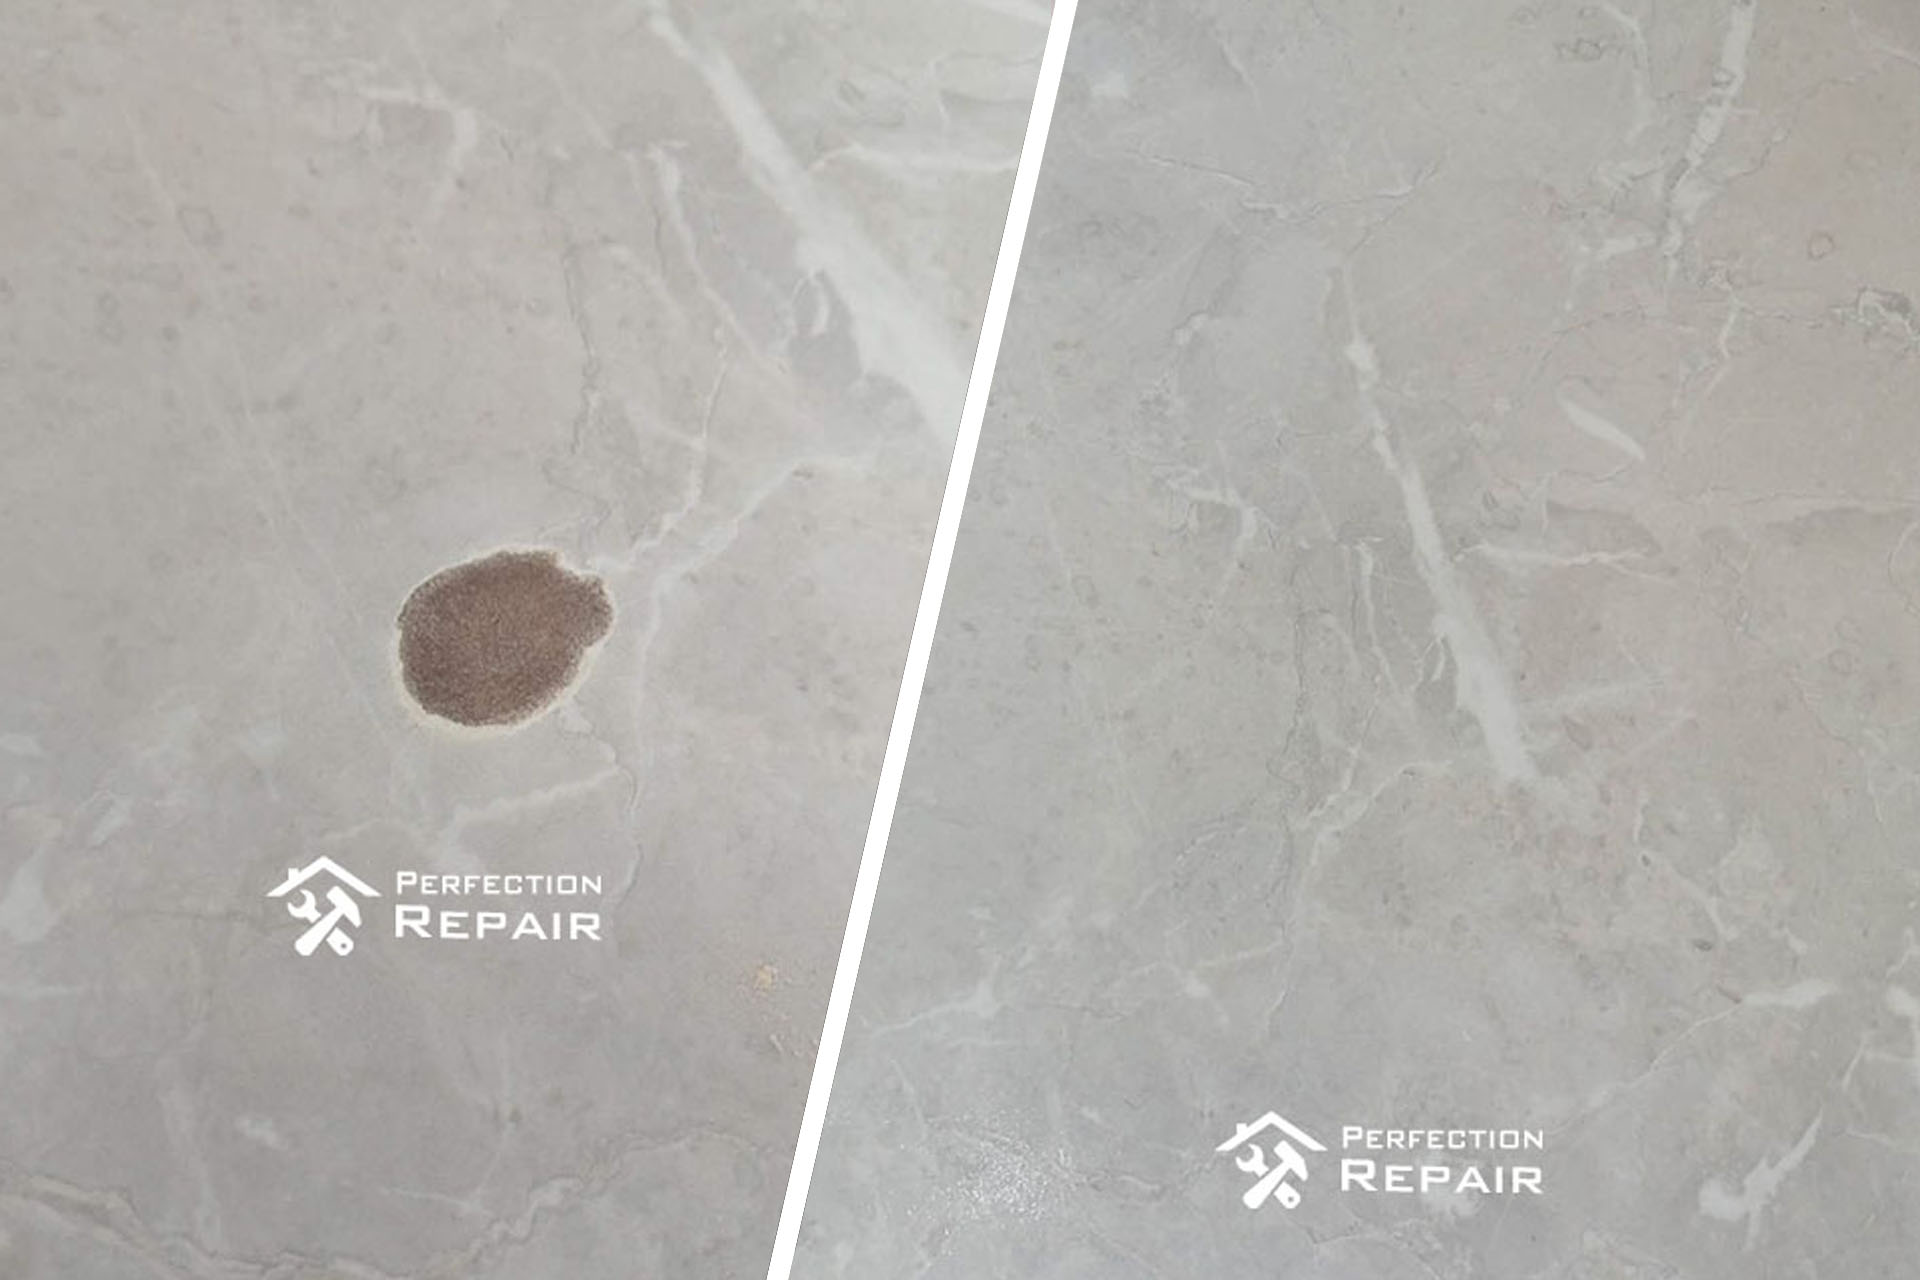
The damage was at the front edge of the benchtop — the corner that faces the room, the one you see every time you walk into the kitchen. An impact had taken a clean piece out of the laminate, exposing the substrate underneath.
Edge chips on laminate benchtops are common for the same reason they’re frustrating: the decorative layer is thinnest at the edge, the corner takes the most incidental contact, and once the laminate lifts or breaks away, the exposed core is vulnerable to moisture. Leave it long enough and the substrate swells, the damage spreads, and what started as a cosmetic problem becomes a structural one.
The client had looked into replacing the benchtop board. The pattern — a stone-effect laminate, a few years old — was no longer in production. Replacing one section would mean either accepting a visible mismatch or replacing the entire run. Neither was a good answer for what was, structurally, a small localised failure.
What Makes Laminate Repair Harder Than It Looks
Two things make laminate chip repair more demanding than filling a hole in a solid surface.
The first is the pattern. Laminate surfaces are printed — stone veining, timber grain, or abstract texture — and that pattern doesn’t tile uniformly. A repair in the middle of a vein or grain line has to continue the pattern across the filled area, not just approximate the base colour. This is hand work: reading the surrounding surface and blending pigments to match what should logically be there.
The second is age. The benchtop had several years of kitchen use behind it — ambient light, cooking heat, cleaning products. A colour mix calibrated to the original factory specification would read as noticeably brighter than the surrounding surface. We mix to match what the surface looks like now, not what it looked like when installed.
The repair sequence: stabilise the exposed core with a resin-bonding compound, build the fill back to flush, blend the pattern across the repair, apply a protective top coat matched to the existing sheen level, and seal the edge against moisture. The whole process took under three hours.
After
The client stood at the kitchen island and looked at the edge from a normal standing position. The repair wasn’t visible.
The board wasn’t replaced. The pattern wasn’t discontinued from the kitchen. The edge is now sealed against moisture and the repair sits flush with the surrounding surface.
For laminate damage in Sydney — chips, lifting edges, heat marks, or surface scratches — the first question is whether the substrate is still sound. If it is, localised repair is almost always the more practical option, particularly when the pattern is no longer in production or a full replacement would require matching across an entire run. We assess before quoting and will tell you what the job actually involves.
Workflow

Damage Assessment and Core Stabilisation
The chip had broken through the decorative laminate layer and into the substrate beneath — a common failure point at edges and corners where the material is thinnest. Before any filling or colour work, we cleaned back the loose fragments and stabilised the exposed core. A repair built on a compromised substrate will lift or crack within months, so this step determines how long the result lasts.

Colour and Pattern Matching
Laminate surfaces are printed with a specific pattern — stone, timber grain, or abstract texture — that doesn't repeat uniformly across the board. Matching a repair on a patterned laminate means reading the surrounding pattern and hand-blending pigments to continue it across the filled area. We also account for the aged tone of the surface: a colour mix calibrated to the original spec will read as a bright patch on a benchtop that has been in a kitchen for several years.

Protective Top Coat
The final coat serves two purposes: it seals the repair against moisture — critical at an edge where water can track under the laminate and swell the substrate — and it brings the sheen level of the repaired area into line with the surrounding surface. We matched the existing gloss level before applying, then confirmed the result under both artificial kitchen lighting and natural light from the window.