
One Cracked Tile, One Discontinued Batch
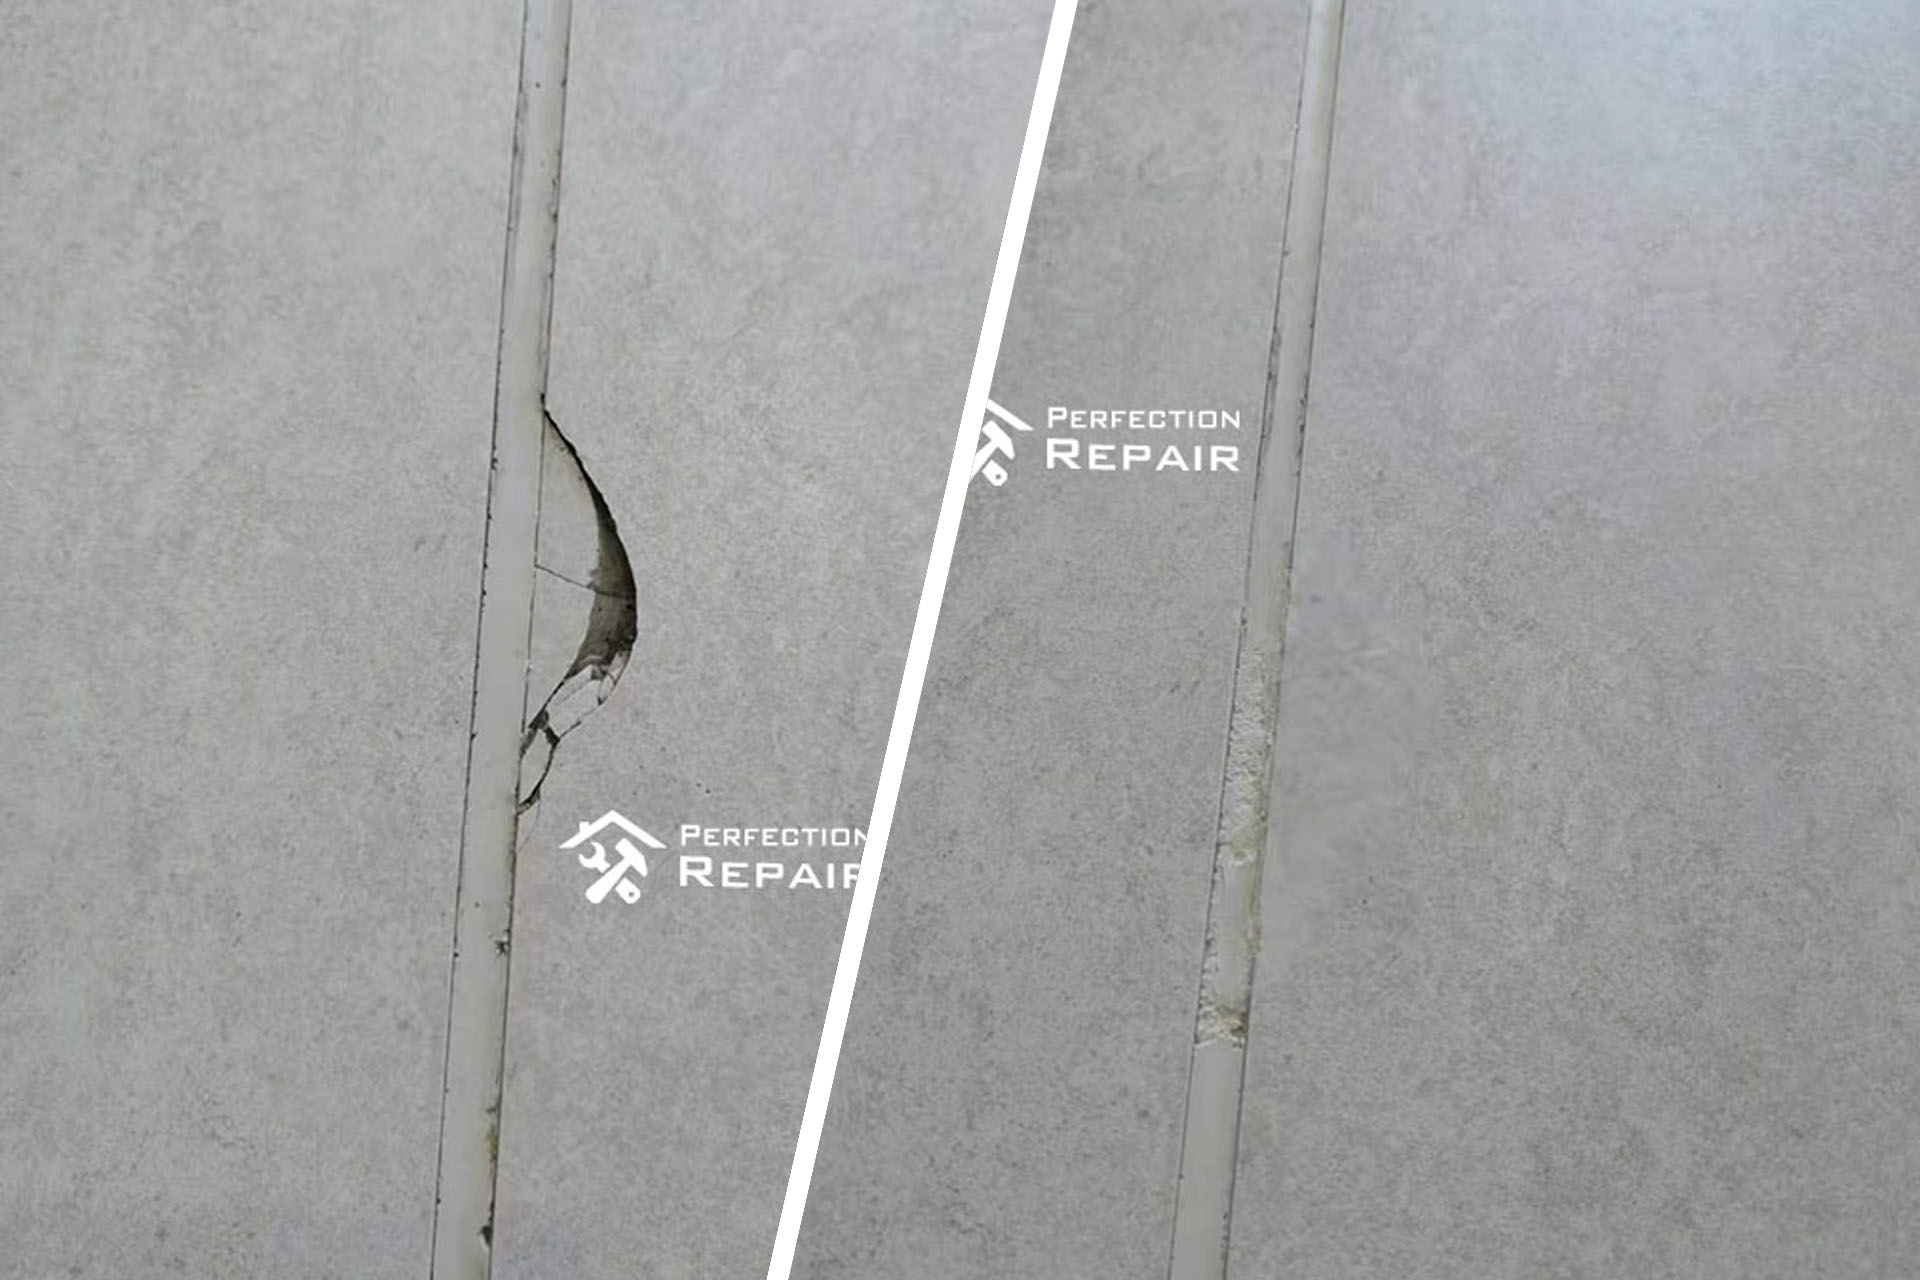
A heavy object dropped onto the floor of this Haymarket apartment, fracturing one tile — a jagged crack radiating out from the impact point, with loose fragments around the centre.
The tenant called a tiler first. The assessment was straightforward: the batch was discontinued, no matching tile was available, and replacing just the damaged one would leave a visible mismatch. To maintain a consistent pattern, the tiler would need to lift and relay a section of the floor. The scope and cost of that job was disproportionate to a single cracked tile.
That’s the situation where localised repair becomes the practical option — not because it’s cheaper in principle, but because the alternative isn’t actually a clean solution either.
Why Tile Repair Works When Replacement Doesn’t
Ceramic tiles can be repaired to an invisible standard when three conditions are met: the substrate beneath is stable, the surrounding grout lines are intact, and the colour match is accurate. All three applied here.
The substrate was sound — no movement, no hollow spots around the fracture. The grout lines on either side were undisturbed. That left colour matching as the determining variable.
This tile had a specific surface character: a slight tonal variation across the face, a low-sheen glaze, and several years of wear that had shifted it from its original specification. A stock filler in an approximate white would have been visible from across the room. We mixed a polymer resin on-site, blending pigments against the current aged tone of the tile rather than any original colour reference, and built the fill up in layers across the fracture. Each layer was checked against the surrounding surface before the next went down.
Once cured, we sanded to flush and matched the glaze level. The final check was under raking light — the condition that shows repairs as dull or bright patches — before finishing.
The job took three hours. No tiles were lifted. No grout lines were touched.
The Inspection
The repair held through the end-of-lease inspection. The agent made no note of the tile. The tenant’s bond was returned in full.
For the tenant, the alternative had been a section relay that would have cost significantly more, taken longer, and still left a visible seam where the new tiles met the old. The repair cost a fraction of that and resolved the actual problem: a cracked tile that would otherwise have been flagged at inspection.
If you have tile damage in a Sydney rental property — impact fractures, chips, or surface cracks — the first question is whether the substrate is intact. If it is, and the tile can be colour-matched, replacement is rarely necessary. We assess before quoting.
Workflow

Fracture Assessment and Debris Clearance
The impact had created a jagged fracture across the tile face — not a clean break, but a radiating crack with loose fragments around the impact point. We cleared the debris and assessed the extent of the damage before any filling work began. The surrounding tiles and grout lines were intact, which confirmed the repair could stay localised. Any movement in the substrate beneath would have changed the approach entirely.

On-Site Polymer Colour Match
The tile had a specific tone and surface variation — slight colour shift across the face, a low-sheen glaze — that ruled out any off-the-shelf filler. We formulated a polymer resin on-site, blending pigments to match the tile's current aged colour rather than its original specification. The compound was built up in layers across the fracture, with each layer checked against the surrounding surface before the next was applied.
Surface Levelling and Gloss Matching
Once the fill had cured, we sanded back to flush and refined the surface texture to match the existing glaze. The last step was confirming the result under raking light — the condition most likely to show a repair as a dull or bright patch. The repaired area matched the gloss level and surface character of the tile on either side of it.